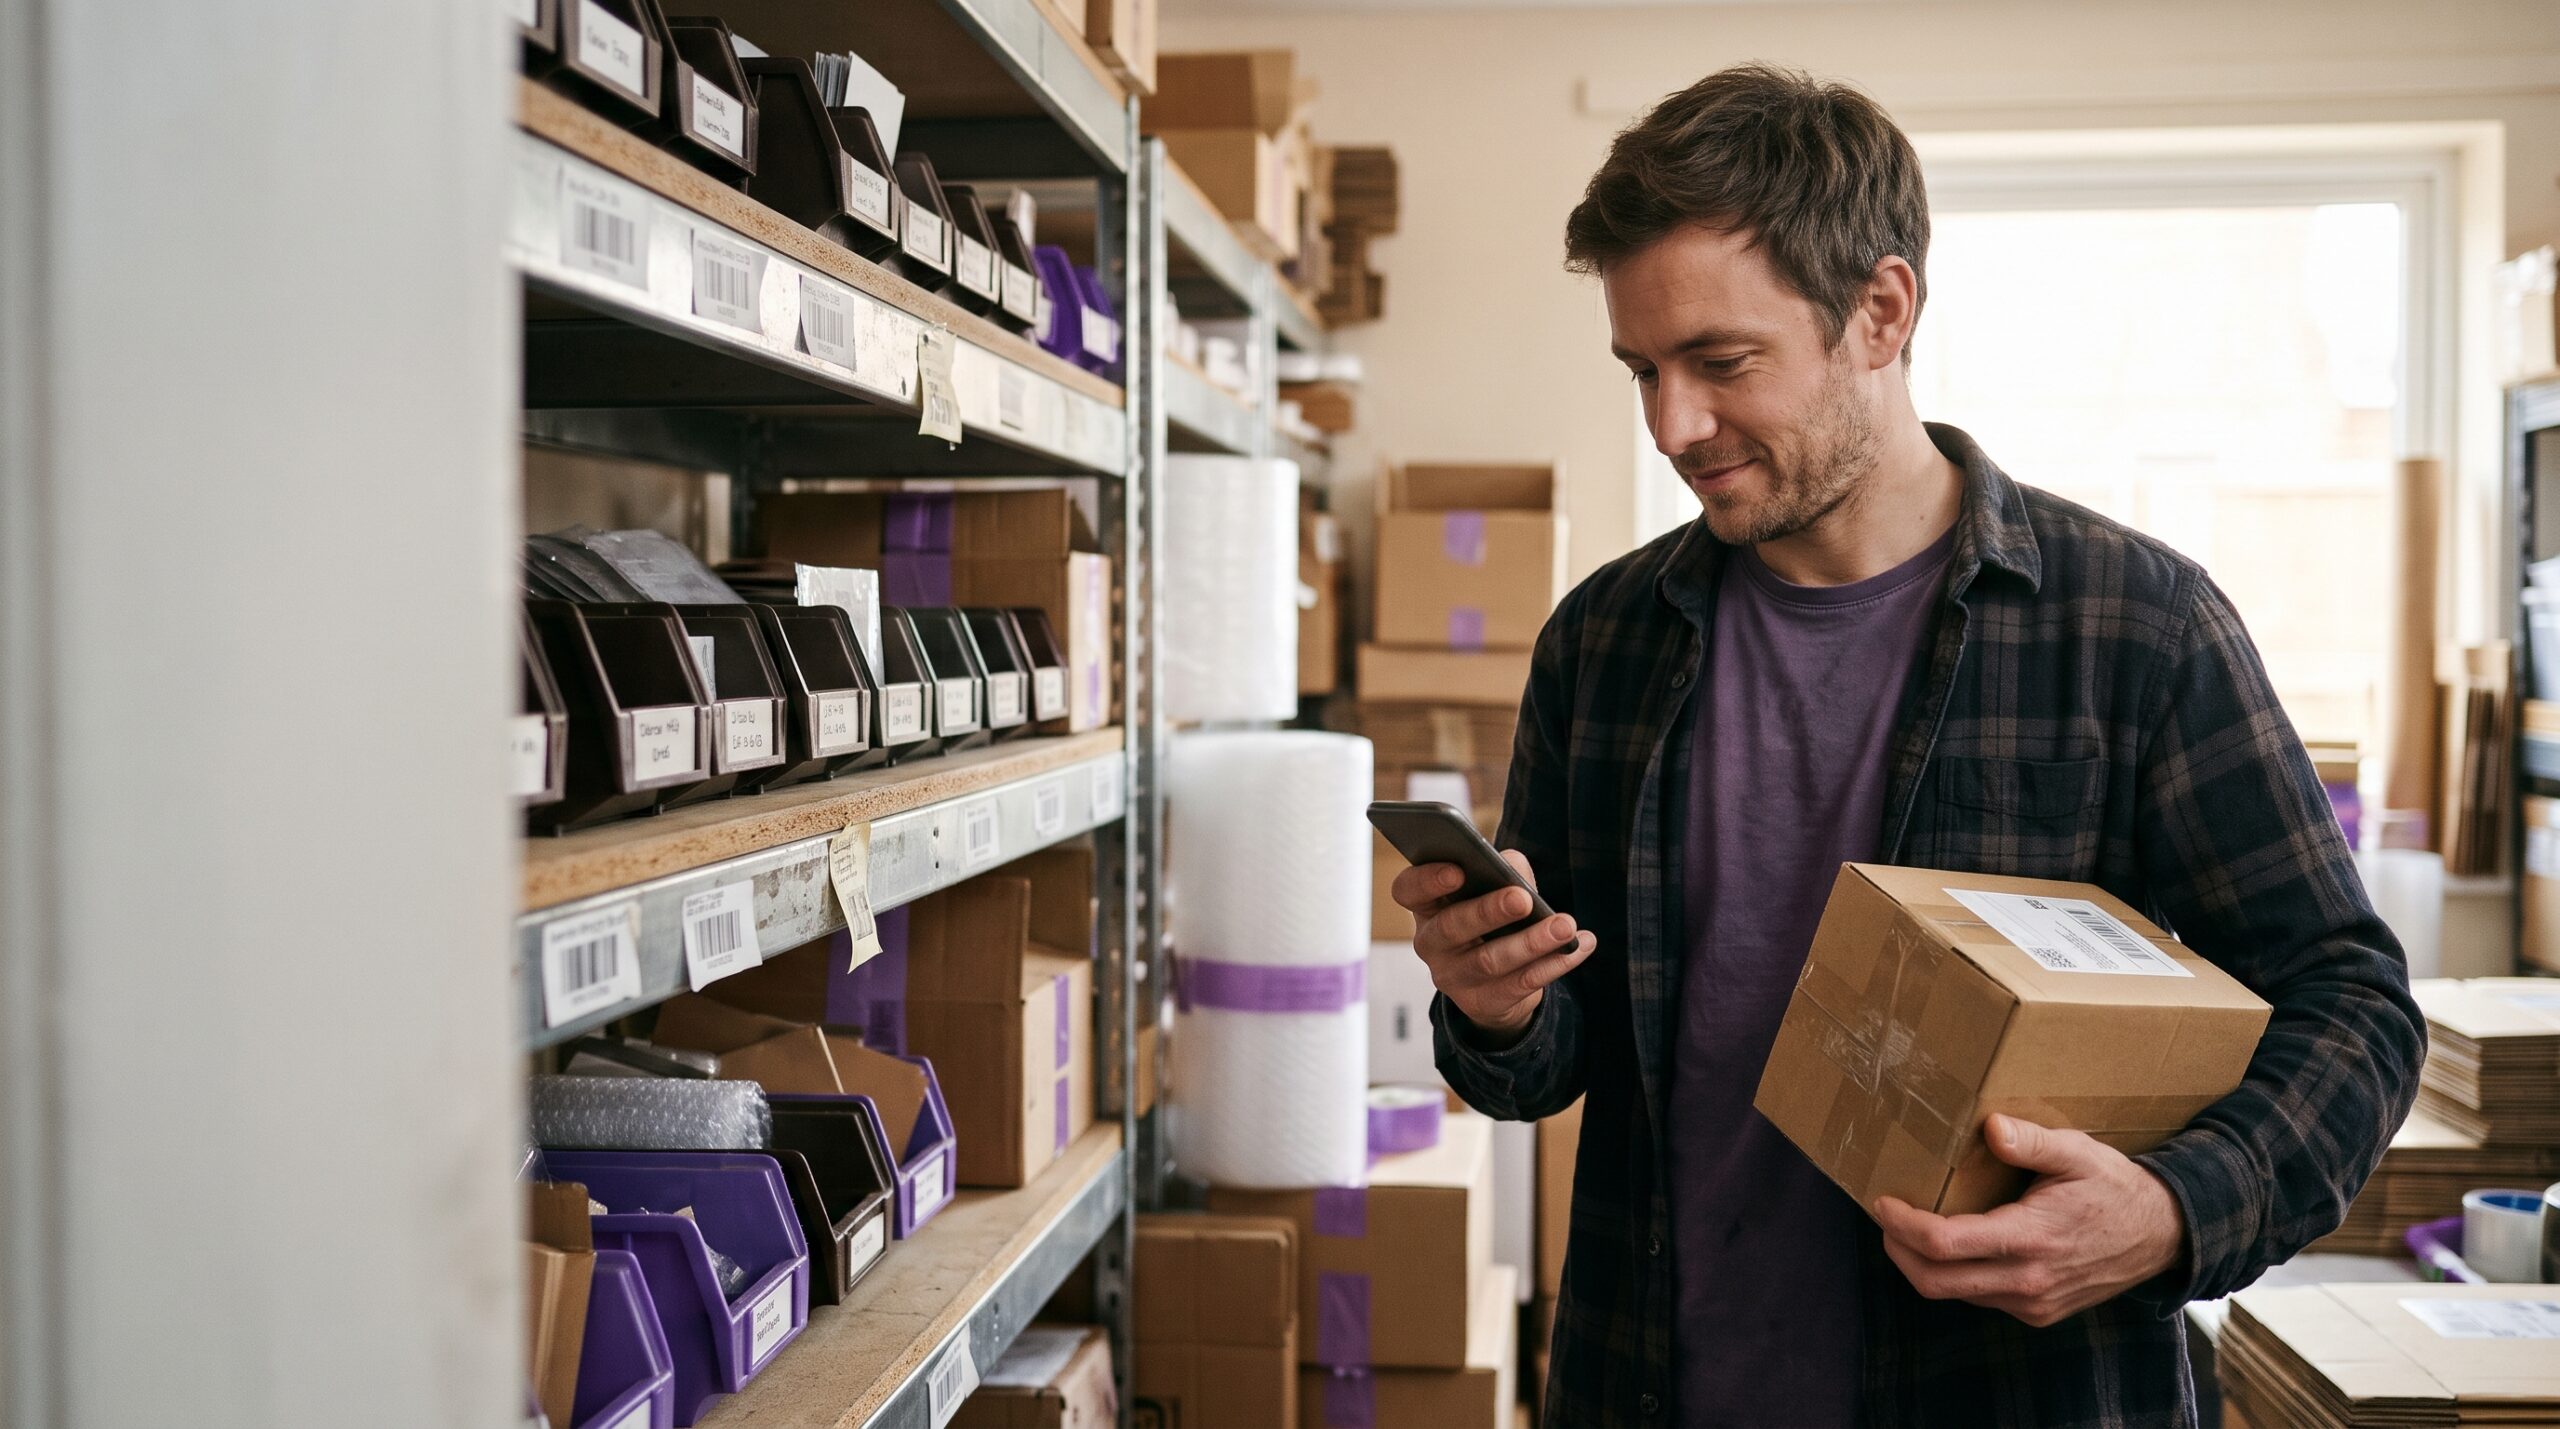
A customer on your Shopify store pays at 9:12 on a Monday morning. By Friday, your team has done the same job 200 times: open the order, copy the address into Royal Mail Click & Drop, print the label, paste the tracking number back into Shopify, mark it fulfilled. None of it is difficult, and all of it is time you could spend on products and customers.
This guide shows how to build that workflow with n8n, the open-source automation tool: when an order is paid, it creates the Royal Mail shipment, picks up the tracking number and marks the order fulfilled, so your customer gets the shipping email with tracking. It is written by the team at AutomateRoyal, who build n8n and AI automations for e-commerce stores. If you run Magento instead, see our Magento and Royal Mail guide.
What you need before you start
- A Shopify store, and a Royal Mail Click & Drop account with API access. In Click & Drop go to Settings > Integrations, choose Click & Drop API and copy the auth key. Only one API integration is allowed per account, and recreating it issues a new key. (Royal Mail: Integrating with the Click & Drop API)
- An app in the Shopify Dev Dashboard for your store. Since 1 January 2026 you can no longer create new legacy custom apps in the store admin, although existing ones keep working. (Shopify community announcement)
- Admin API scopes for the app: read_orders, and read and write for merchant managed fulfillment orders. Creating a fulfillment needs the write scope for fulfillment orders. (Shopify: fulfillmentCreate)
- An n8n instance, either n8n Cloud or self-hosted on a VPS.
Store your keys in n8n Credentials, never inside a workflow you export or share.
The workflow at a glance
The workflow fetches paid, unfulfilled Shopify orders, builds a Royal Mail order for each, collects the tracking number and writes it back to Shopify. Any order Royal Mail rejects goes to an alert instead of stopping the run.
Build the workflow in n8n, step by step
Build and test each step on one order before connecting the next. Use a test order with a real UK address and keep the workflow inactive until the end. All code below is an example to adapt to your store.
Step 1: Get a Shopify token and find paid orders
For a Dev Dashboard app, copy the Client ID and Client secret from the app’s Settings. Then request an Admin API token with a POST to your store’s token address. Shopify says these tokens expire after 24 hours, so do not paste one into n8n once and forget it. Put this request at the start of the workflow so it fetches a fresh token on every run. (Shopify: get API access tokens)
POST https://YOUR-STORE.myshopify.com/admin/oauth/access_token
Content-Type: application/x-www-form-urlencoded

grant_type=client_credentials
client_id=YOUR_CLIENT_ID
client_secret=YOUR_CLIENT_SECRET
The response contains access_token. Send it in the X-Shopify-Access-Token header on every later Shopify request. Note that this grant works only when the app and the store belong to the same Shopify organisation.
Start the workflow with a Schedule Trigger every 5 to 10 minutes. Then add an HTTP Request node that posts a GraphQL query to https://YOUR-STORE.myshopify.com/admin/api/2025-01/graphql.json (use the API version your app is set to) asking for paid orders that are not yet shipped:
query {
  orders(first: 20, query: "financial_status:paid AND fulfillment_status:unfulfilled") {
    nodes {
      id
      name
      createdAt
      email
      phone
      shippingAddress { name address1 address2 city zip countryCodeV2 phone }
      subtotalPriceSet { shopMoney { amount } }
      totalShippingPriceSet { shopMoney { amount } }
      totalPriceSet { shopMoney { amount } }
      fulfillmentOrders(first: 5) { nodes { id status } }
    }
  }
}
If name, address or email come back empty, check the app’s access to protected customer data in Shopify. A Split Out node then turns the list into one item per order. Once the workflow fulfils an order in Step 5, Shopify no longer lists it as unfulfilled, so it is not picked up twice.
Step 2: Map the Shopify order to a Royal Mail order
Use an Edit Fields or Code node to build the Royal Mail payload:
{
  "items": [{
    "orderReference": "#1042",
    "orderDate": "2026-10-27T09:12:00Z",
    "recipient": {
      "address": {
        "fullName": "Jane Smith",
        "addressLine1": "12 High Street",
        "city": "Leeds",
        "postcode": "LS1 4AB",
        "countryCode": "GB"
      },
      "phoneNumber": "07700900123",
      "emailAddress": "jane@example.com"
    },
    "packages": [{ "weightInGrams": 450, "packageFormatIdentifier": "parcel" }],
    "subtotal": 39.99,
    "shippingCostCharged": 3.99,
    "total": 43.98
  }]
}
Royal Mail requires the recipient, order date, subtotal, shipping cost and total. Package weight is optional in the schema, but you need it for correct postage. Many shops use a fixed weight per product type or a small weight table keyed by SKU, which is easier to keep correct than reading weights from every variant. Check valid packageFormatIdentifier values and service codes with GET /services. (Click & Drop API specification)
Step 3: Create the order in Royal Mail Click & Drop
Add an HTTP Request node:
POST https://api.parcel.royalmail.com/api/v1/orders
Authorization: Bearer YOUR_CLICK_AND_DROP_KEY
Content-Type: application/json
Send the payload from Step 2 as the JSON body. The response gives you an orderIdentifier for each created order and lists any that failed with their errors. Save the orderIdentifier, because you need it for Step 4 and for any later support question.
Step 4: Get the tracking number
This depends on your Royal Mail account type:
- OBA account: call
GET /orders/{orderIdentifier}/label?documentType=postageLabelto download the label, and read trackingNumber from the order. You can save the label PDF to Google Drive or email it to your packing team. - Account without OBA: the label API is not available, so someone prints the label in Click & Drop. Add a Wait node and a second schedule that calls
GET /orders/{orderIdentifier}until trackingNumber is filled in.
Test this with a real order to see exactly when the tracking number appears for your account. Do not assume it arrives in the create response.
Step 5: Mark the order fulfilled in Shopify
Send a GraphQL mutation with another HTTP Request node. It uses the fulfillment order ID you fetched in Step 1 and attaches the tracking number. With notifyCustomer set to true, Shopify sends the shipping email to the customer. (Shopify: fulfillmentCreate)
mutation fulfil($fulfillment: FulfillmentInput!) {
  fulfillmentCreate(fulfillment: $fulfillment) {
    fulfillment { id status }
    userErrors { field message }
  }
}
{
"fulfillment": {
"notifyCustomer": true,
"trackingInfo": {
"number": "AB123456789GB",
"company": "Royal Mail",
"url": "https://www.royalmail.com/track-your-item#/tracking-results/AB123456789GB"
},
"lineItemsByFulfillmentOrder": [
{ "fulfillmentOrderId": "gid://shopify/FulfillmentOrder/1234567890" }
]
}
}If you leave out the line items, Shopify fulfils everything in that fulfillment order. For split shipments, list only the items in the parcel. Always read userErrors in the response and send them to your error alert, because Shopify can return a normal response with errors inside. Click the tracking link in a test email to make sure it opens the right Royal Mail page.
Handle errors before they reach customers
A workflow that works on a clean test order will still meet messy real ones. Plan for these cases:
- Royal Mail created the order but Shopify failed. On the next run the order still looks unfulfilled, so the workflow could create a second shipment. Save the Shopify order name and the Royal Mail orderIdentifier in a Google Sheet or n8n data table, and check it before creating anything.
- Invalid or incomplete address. Read the failed orders in the Royal Mail response and send the order number and error to Slack or email so a person can fix it.
- Rate limits. Royal Mail’s own documents state different limits per second, so stay below the lower figure, add a short Wait between calls and process orders in small batches.
- Expired Shopify token. Tokens last 24 hours, so request a new one at the start of every run.
- Orders with more than one fulfillment order, for example stock in two locations. Create one Royal Mail parcel and one fulfilment per fulfillment order.
- Pickup, digital or international orders. Filter them out, or add customs data for non-UK addresses, rather than letting them fail.
Create a separate Error Workflow in n8n with an Error Trigger node that messages you whenever any node fails, so a stuck order never sits unnoticed for a day.
How much time this saves
Take the minutes one order costs you by hand (copying the address, creating the label, pasting the tracking number, marking it fulfilled) and multiply by your orders.
As an example only: 3 minutes an order and 40 orders a day is 2 hours a day, or about 40 hours over 20 working days. Your numbers will differ, but the more you ship, the more the workflow pays back. It also removes retyping mistakes, and customers get their tracking email straight away.
If you are choosing between tools, our n8n vs Zapier comparison explains why we build on n8n. For more ideas that save a shop hours every week, read e-commerce automation workflows that save hours every week.
FAQ
Can I connect Shopify to Royal Mail Click & Drop automatically?
Yes. Royal Mail offers a Click & Drop API, and Shopify has an Admin API, so a tool such as n8n can create the Royal Mail order from each Shopify order and send the tracking number back.
Do I need to write code?
Very little. Most of the work is configuring n8n nodes. You will paste a few GraphQL and JSON snippets and adapt field names to your store.
Does the customer get a tracking email?
Yes. When you create the fulfilment with notifyCustomer set to true, Shopify sends its standard shipping email with the tracking details.
Do I need a Royal Mail OBA account?
No, but with OBA you can fetch labels through the API. Without it you create the order through the API and print the label in Click & Drop.
Will this still work with the new Shopify app rules?
Yes, if you create your app in the Shopify Dev Dashboard. Shopify stopped allowing new legacy custom apps from 1 January 2026, and Dev Dashboard tokens expire after 24 hours, so the workflow requests a fresh token each time.
Can it handle Tracked 24, Tracked 48 or Special Delivery?
Yes. Set the service code when you create the Royal Mail order and map it from the Shopify shipping rate. Get the valid codes for your account from the Royal Mail services endpoint.
How long does setup take?
A basic version can be built in a day. Allow more time for testing with real orders, edge cases and error alerts.
Want this built for your store?
Whether you ship five orders a day or five hundred, the idea is the same: every minute your team spends retyping data is a minute not spent growing the shop. AutomateRoyal designs and runs n8n workflows for e-commerce stores, from Shopify and Magento shipping to order alerts, customer messages and AI assistants. Tell us how you ship today and we will tell you, honestly, what is worth automating.
Website: automateroyal.com
Email: automateroyal@gmail.com